Ever wonder how brand ideas go from messy doodles to polished visuals? Discover my full creative process—how I transform sketches into strategic brand assets that connect and convert.
As a designer, I’ve come to learn that some of the best ideas start with a messy sketch on paper. A loose doodle. A random note scribbled in the corner of a notebook. It’s not glamorous, but it’s magic. This is the beginning of the creative process — where raw thoughts evolve into polished brand assets that tell a story, spark connection, and build recognition.
In this post, I’m walking you through how I take concepts from the sketchbook all the way to the screen, and ultimately, to the final brand assets. It’s not always linear, and it’s definitely not always tidy, but it’s a journey that blends creativity, strategy, and structure.
Every project begins with pen on paper. There’s something freeing about sketching without the pressure of perfect lines or polished layouts. It’s here that I let ideas run wild — exploring shapes, typography treatments, icons, symbols, and layout directions.
This phase is less about execution and more about capturing the vibe. I’m not thinking about deliverables or file formats yet. I’m asking questions like:
What is the personality of this brand?
Is it bold and energetic, or calm and minimalist?
What kind of emotional tone are we going for?
Sometimes I sketch five pages. Sometimes I just have one solid visual idea that feels right. Either way, this low-pressure exploration helps me tap into the brand’s potential.
Once I’ve got a few visual concepts, I build out a moodboard to align inspiration and direction. This is where strategy and design start to merge.
I’ll pull colors, textures, typography samples, logo styles, and photography that reflect the brand’s tone. Moodboarding not only helps me refine my aesthetic direction, it’s also a powerful tool to communicate with clients. It gives them a visual language to respond to, even before we get into the nitty gritty of design.
And yes, it saves a ton of time down the line. When I know the emotional and visual tone we’re aiming for, design decisions become clearer and more intentional.
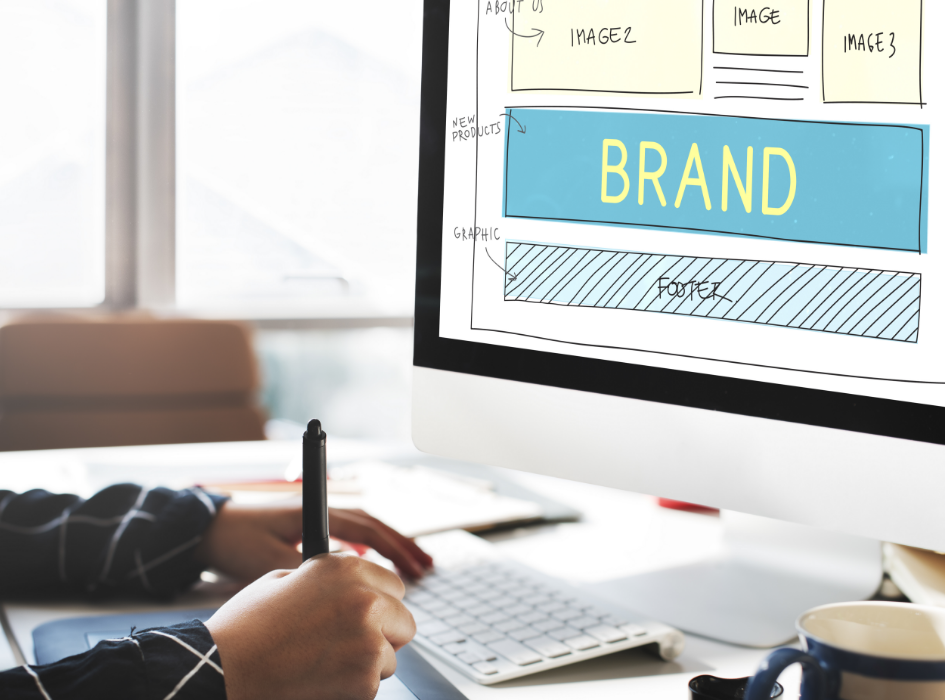
Now comes the part where the ideas hit the screen. I scan my sketchbook or take reference photos of my favorite doodles, and then jump into Illustrator (or Figma, depending on the project).
This is where the hand-drawn becomes vectorized and refined. Lines become cleaner, shapes are balanced, and proportions get tweaked. I start to play with fonts, layout grids, and color palettes to bring the sketched ideas to life.
Sometimes, a concept that looked great in the sketchbook doesn’t translate well digitally — and that’s okay. I’ll go back to the drawing board, refine the idea, and try again. It’s a back-and-forth dance of intuition and iteration.
Once the key visual assets are defined — like the logo, typography, and color scheme — it’s time to build out the full brand system. This is the phase where design becomes function.
I think about:
How does this logo scale on different platforms?
What will the social media templates look like?
Is this color palette accessible and flexible?
Are we creating room for future growth?
This is where I create brand guides, templates, and versatile assets. The goal is to make the brand not only look good, but work well in the real world. Everything needs to feel cohesive, intentional, and usable — by anyone, not just a designer.
No project is complete without feedback. I always build in time to step back, review my work critically, and share with the client or collaborators for input.
Sometimes the tweaks are small — color adjustments or minor spacing changes. Other times, it’s back to the moodboard for a fresh round of inspiration. Feedback isn’t a setback; it’s an opportunity to push the design further.
This stage helps ensure that the final assets are not just beautiful, but also aligned with the brand’s vision, values, and goals.
Once the brand assets are finalized, I package everything up for delivery. This usually includes:
Logo variations (primary, secondary, icons, etc.)
Typography styles and usage
Color palette codes (HEX, RGB, CMYK)
Brand guidelines
Social templates, web elements, or presentation decks
Everything is organized, easy to access, and ready for use across all platforms. My goal is to give clients not just a logo, but a full visual identity that they can use confidently — from their website to their packaging to their Instagram feed.
The journey from sketchbook to screen isn’t just about making things look pretty. It’s about translating ideas, values, and vision into visual storytelling. It’s about designing assets that have meaning and impact.
When I create brand assets, I’m thinking about how they’ll make people feel. Will they stop scrolling? Will they remember the logo? Will they connect with the brand’s personality? That’s the true goal — to create something that sticks.
Creativity isn’t a straight path. The process from sketch to screen is filled with trial, error, revision, and discovery. But it’s that messy, iterative journey that makes the final product meaningful.
So whether you’re a fellow designer, a business owner building your brand, or just curious about how it all works behind the scenes — I hope this gave you a peek into the way I turn raw ideas into real, usable brand assets. Because behind every great brand is a designer with a sketchbook, a vision, and a lot of love for the process.